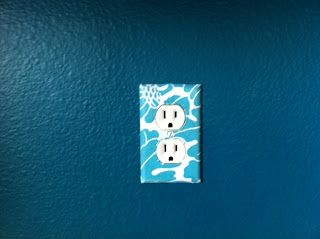
I painted my kitchen wall "Neverland Teal" when I first moved in. It felt like it needed something so I decided to spice up the electric outlet covers. I found this DIY tutorial on Pinterest and decided to try it out for myself.
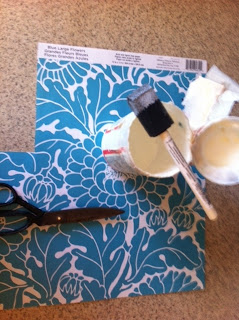
I started by removing the cover and getting my materials. I chose this fun blue and white pattern scrapbook paper bought during Micheal's "6 sheets for $1" sale. So worth it! I traced the cover on the paper and cut it out (leaving the whole inside in one piece). I traced where the holes WILL be, but left them alone for now.
Then, I covered the front of the cover in modpodge and placed the cut out paper in position.
After placing the paper on the cover, I covered the whole thing with more modpodge. Allow to dry and do 2-3 more coats (I did this due to it being in the kitchen so it would wipe easily).
Once it dried, I put it back into position.
I found it was easier to get the screw in if I made a small incision in the paper before hand where the screw would go. I found that if you try cutting through the paper before it is COMPLETELY dry... the edges won't cut smoothly.
I found it was easier to get the screw in if I made a small incision in the paper before hand where the screw would go. I found that if you try cutting through the paper before it is COMPLETELY dry... the edges won't cut smoothly.
Credit: housewivesofriverton


No comments:
Post a Comment